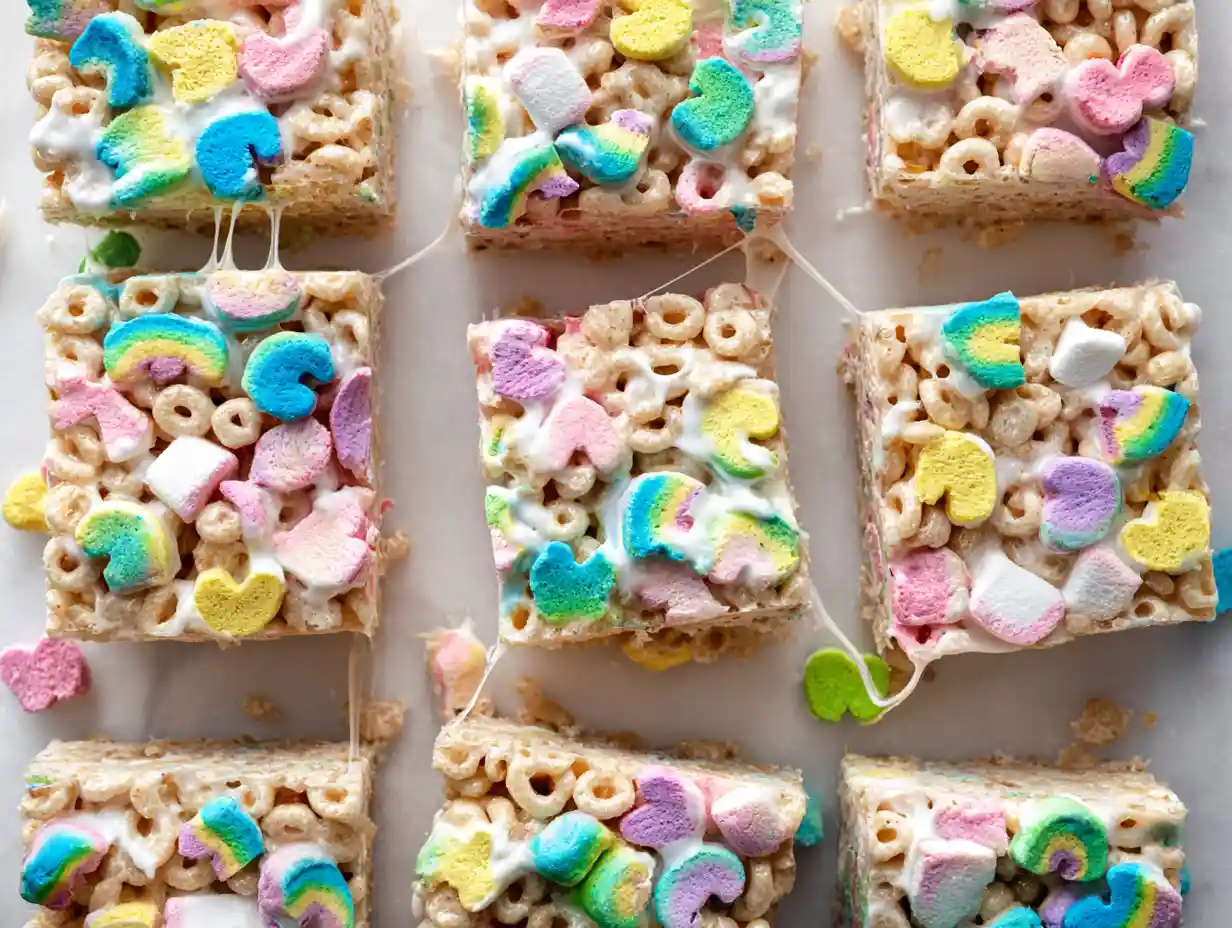
Lucky Charms Rice Crispy Treats: Your Guide to Magical Gooey Goodness
There’s something truly special about a treat that takes you back to childhood, isn’t there? For me, it’s the simple joy of a perfectly gooey, chewy crispy treat. Today, I’m so excited to share my recipe for Lucky Charms Rice Crispy Treats.
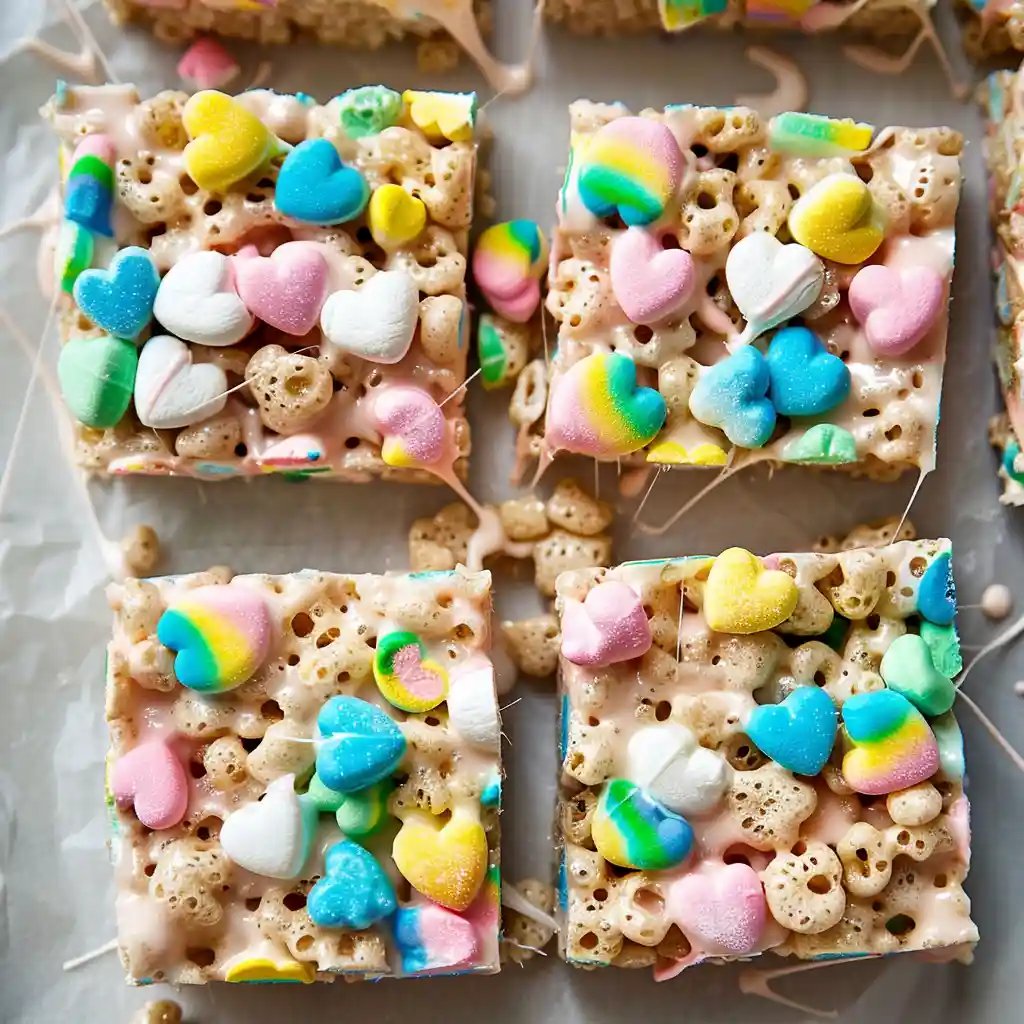
They’re incredibly quick to whip up, with about 10 to 15 minutes of active prep, and the hardest part is waiting for them to cool! These are the ultimate no-bake treat, bursting with fun colors and that irresistible sweet crunch.
Table of Contents
Magic Lucky Charms Rice Crispy Treats
Ingredients
Equipment
Method
- Line an 8×8 or a 9×9 inch baking dish with parchment paper. Leaving some overhang so you can easily grab the parchment to remove these bars from the dish for serving.
- In a large pot, melt the butter over low to medium heat. If you’re using the brown butter trick, this is where you’ll continue to cook the butter until it’s golden brown and fragrant.
- Once the butter is melted (or browned), add the marshmallows to the pot and stir until they are completely melted and smooth. This will take several minutes. I like to use a sturdy rubber spatula or a metal spoon to stir.
- Remove the pot from the heat and stir in the Lucky Charms cereal or another cereal of your choice. Mix well until all of the cereal is coated with the marshmallow mixture.
- Pour the mixture into the prepared pan and press down evenly with a spatula or the bottom of a measuring cup. If you are struggling to spread out the sticky mixture, try greasing your spatula or measuring cup so it easily glides over the cereal.
- Let the Lucky Charms Rice Crispy Treats cool and set for 20 to 30 minutes in the fridge before cutting them into 9 squares or 12 bars.
Tried this recipe?
Let us know how it was!Why You’ll Adore These Magical Lucky Charms Rice Crispy Treats
These aren’t just any crispy treats; they’re a little bit of magic in every bite. The nostalgic charm of Lucky Charms cereal brings back wonderful memories, and the fact that they’re a no-bake wonder makes them perfect for any occasion. They’re incredibly festive and a surefire hit with kids (and let’s be honest, adults too!). This recipe is designed to give you that perfect gooey texture that’s so satisfying. They’re ideal for birthdays, school parties, St. Patrick’s Day celebrations, or simply for a fun weekend project with the family.
The Secret to Next-Level Flavor: Brown Butter (An Optional Twist!)
Now, I have a little secret to share that can elevate these Lucky Charms Rice Crispy Treats from delicious to absolutely divine: brown butter. Browning the butter before you add the marshmallows infuses them with a wonderfully rich, nutty depth that’s simply incredible. It’s an optional step, but I highly recommend it for an extra layer of flavor.
To brown the butter, simply melt it in your pot over low to medium heat, and continue to stir until it turns a beautiful golden-brown color and smells nutty. This usually takes about 5-8 minutes. Once it’s browned, proceed with adding your marshmallows as usual.
Gather Your Magical Ingredients
The beauty of these treats lies in their simplicity, and using fresh marshmallows is key for that perfectly gooey texture. I find that using salted butter really enhances the overall flavor profile, balancing the sweetness beautifully.
Ingredients:
- 6 tablespoons (1/3 cup) salted butter
- 16 ounces marshmallows (mini or regular-sized)
- 6 cups Lucky Charms cereal
Essential Equipment for Sweet Success
To whip up these delightful Lucky Charms Rice Crispy Treats, you won’t need much more than what you likely already have in your kitchen.
- A large pot for melting
- A sturdy rubber spatula or metal spoon for stirring
- An 8×8 or 9×9 inch baking dish
- Parchment paper
- Measuring cups
How to Conjure Your Lucky Charms Rice Crispy Treats
Here’s how to bring these magical treats to life, step by step.
- Prepare Your Pan: Line an 8×8 or a 9×9 inch baking dish with parchment paper. Leaving some overhang so you can easily grab the parchment to remove these bars from the dish for serving.
- Melt the Butter: In a large pot, melt the butter over low to medium heat. If you’re using the brown butter trick, this is where you’ll continue to cook the butter until it’s golden brown and fragrant.
- Melt the Marshmallows: Once the butter is melted (or browned), add the marshmallows to the pot and stir until they are completely melted and smooth. This will take several minutes. I like to use a sturdy rubber spatula or a metal spoon to stir.
- Combine with Cereal: Remove the pot from the heat and stir in the Lucky Charms cereal or another cereal of your choice. Mix well until all of the cereal is coated with the marshmallow mixture.
- Press into Pan: Pour the mixture into the prepared pan and press down evenly with a spatula or the bottom of a measuring cup. If you are struggling to spread out the sticky mixture, try greasing your spatula or measuring cup so it easily glides over the cereal.
- Cool and Cut: Let the Lucky Charms Rice Crispy Treats cool and set for 20 to 30 minutes in the fridge before cutting them into 9 squares or 12 bars.
Expert Tips for Perfectly Gooey Lucky Charms Treats
Achieving that perfect gooey texture is all about a little care. Melting your marshmallows slowly over low heat is crucial; rushing this step can lead to a tougher treat. If things get sticky, a lightly greased spatula or even a bit of water on your hands can help tremendously when pressing the mixture into the pan.
For softer treats, try not to over-compress the mixture; just press it gently to create an even layer. A cooling time of 20 to 30 minutes in the fridge is usually ideal, but this can vary. If you’re using a larger 9×13 inch pan, your treats will be thinner and will set faster. If your treats are falling apart, you might need a little more marshmallow binder next time.
If they’re too hard, it could be from overcooking the marshmallows or adding too much cereal. Don’t worry if they don’t set perfectly; a quick 10-second zap in the microwave can often bring back some of that delightful gooeyness.
For clean slicing, use a sharp knife and press straight down.
Customizing Your Lucky Charms Treats: Endless Possibilities!
Part of the fun is making these treats your own! There are so many ways to play with this recipe.
Substitutions & Variations
| Category | Idea |
|---|---|
| Cereal | While Lucky Charms are fantastic, feel free to swap them out for other favorites like Fruit Loops for extra color, Cinnamon Toast Crunch for a spiced twist, or even plain Rice Krispies for a classic base. |
| Marshmallows | Mini marshmallows melt faster and more evenly, but regular-sized ones work just fine. You can also experiment with flavored marshmallows if you find them! |
| Butter | For a dairy-free option, a good quality plant-based butter alternative can be used. I’ve found they work quite well. |
| Dietary Notes | Lucky Charms cereal is typically gluten-free, but always double-check the packaging to be sure for your specific needs. You can also find gluten-free versions of other cereals. |
| Flavor Boosts | A teaspoon of vanilla extract added with the marshmallows can give a lovely background note. A tiny pinch of salt can also really make the flavors pop. |
| Add-Ins | Mix in a handful of white chocolate chips, chunks of milk chocolate, colorful sprinkles, or mini M&Ms right after you add the cereal for extra texture and flavor. |
| Coloring | For themed parties, a drop or two of green food coloring can be perfect for St. Patrick’s Day, or use other colors to match your event! |
| Toppings/Drizzles | Once cooled slightly, drizzle melted white or milk chocolate over the top. Press a few extra Lucky Charms marshmallows onto the surface before they set, or add a sprinkle of edible glitter for extra sparkle. |
| Gifting & Decor | For parties, use cookie cutters to create fun shapes. Package individual treats in cellophane bags tied with festive ribbons, or arrange them beautifully on a platter. |
Achieving Your Ideal Texture: Adjusting Cereal Ratios
The ratio of cereal to marshmallow is your main tool for controlling the texture of your Lucky Charms Rice Crispy Treats. If you prefer a super gooey, chewy bar, try using slightly less cereal, maybe around 5.5 cups.
This means more marshmallow per bite! On the flip side, if you like a firmer, crisper treat that holds its shape well, you can increase the cereal slightly, perhaps to 6.5 cups. It’s all about finding that perfect balance for your personal preference!
Making it a Family Affair: Kid-Friendly Involvement
Cooking with kids is one of my favorite things! They can help in so many safe and fun ways with this recipe. Little hands can help unwrap the marshmallows or pour them into the pot once the butter is melted and the heat is off. Once the mixture is combined with the cereal, kids can help gently press it into the pan (with a little greased spatula to avoid sticking!).
They’ll especially love decorating the treats with sprinkles or picking out their favorite cereal charms. It’s a wonderful way to create memories together in the kitchen.
Stovetop vs. Microwave: Which Method is Best for Melting Marshmallows?
You have two main options for melting your marshmallows: stovetop or microwave. The stovetop method, as I’ve outlined, offers gentle, even heating, which is fantastic for ensuring smooth melting and is essential if you’re browning the butter.
The microwave is certainly quicker and means less cleanup, but you have to be very careful not to overcook the marshmallows, as they can quickly become tough or even burn. For consistency and that lovely gooey result, I generally lean towards the stovetop.
Storing Your Lucky Charms Treats & Keeping Them Fresh
To keep these treats at their best, store them in an airtight container at room temperature. I like to press squares of parchment paper between layers if I’m stacking them, especially if I’m packing them for lunchboxes, as this can help prevent them from sticking together and hardening too much.
If you need to freeze them, wrap them tightly in plastic wrap, then in foil, and store them for up to a month. To revive slightly stale treats, a quick 5-10 second zap in the microwave can work wonders, restoring some of that delightful gooeyness!
FAQs about Lucky Charms Rice Crispy Treats
Are Lucky Charms treat bars gluten-free?
Yes, Lucky Charms cereal is typically gluten-free, but it’s always a good idea to check the packaging to confirm.
Are Lucky Charms treats dairy-free?
No, the butter in the recipe contains dairy. You can use a plant-based butter alternative to make them dairy-free.
Is this recipe vegan?
Standard marshmallows and butter contain animal products. For a vegan version, use vegan marshmallows and a plant-based butter alternative.
How long do these bars last?
Stored properly at room temperature, they are best enjoyed within 2 to 3 days.
Is it okay to use old marshmallows for Rice Krispie treats?
I don’t recommend it. Old, stale marshmallows won’t melt as smoothly and can result in a tougher, less gooey treat.
What happens if you put too much butter in Rice Krispie treats?
Too much butter can make the treats greasy and prevent them from setting as firmly.
How can I prevent my treats from falling apart?
Ensure you’re using enough melted marshmallow to bind the cereal together and don’t over-compress them in the pan.
Why are my treats too hard?
This is usually due to overcooking the marshmallows or adding too much cereal. Melt them gently and be precise with your cereal measurement.
Can I make these ahead of time for a party?
Absolutely! They can be made a day or two in advance and stored at room temperature.
Do I need to refrigerate them?
Refrigeration is not necessary for storage and can sometimes make them harder. Room temperature is best.
Your Magic Moment Awaits!
Making these Lucky Charms Rice Crispy Treats is such a fun and rewarding experience, and I hope you enjoy every gooey bite! They’re proof that delicious, magical treats don’t need to be complicated. I’d love to hear about your adventures with this recipe.
Have you tried the brown butter twist? What other cereals do you love to use? Share your thoughts, questions, or your own magical creations in the comments below! Happy baking!