The holiday season always sparks a special kind of magic in my kitchen. I love the scent of cinnamon, the twinkle of fairy lights, and of course, the sheer joy of baking for loved ones.
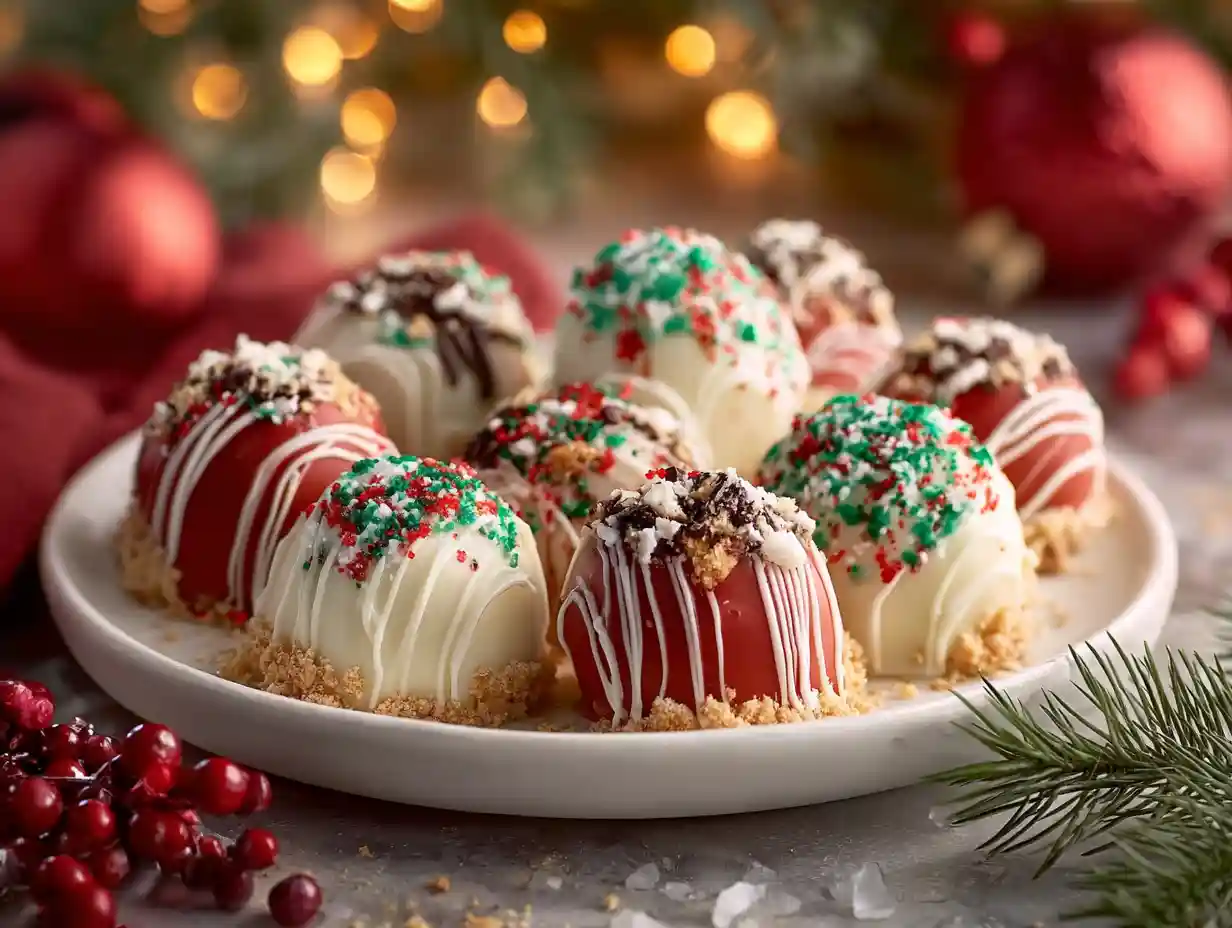
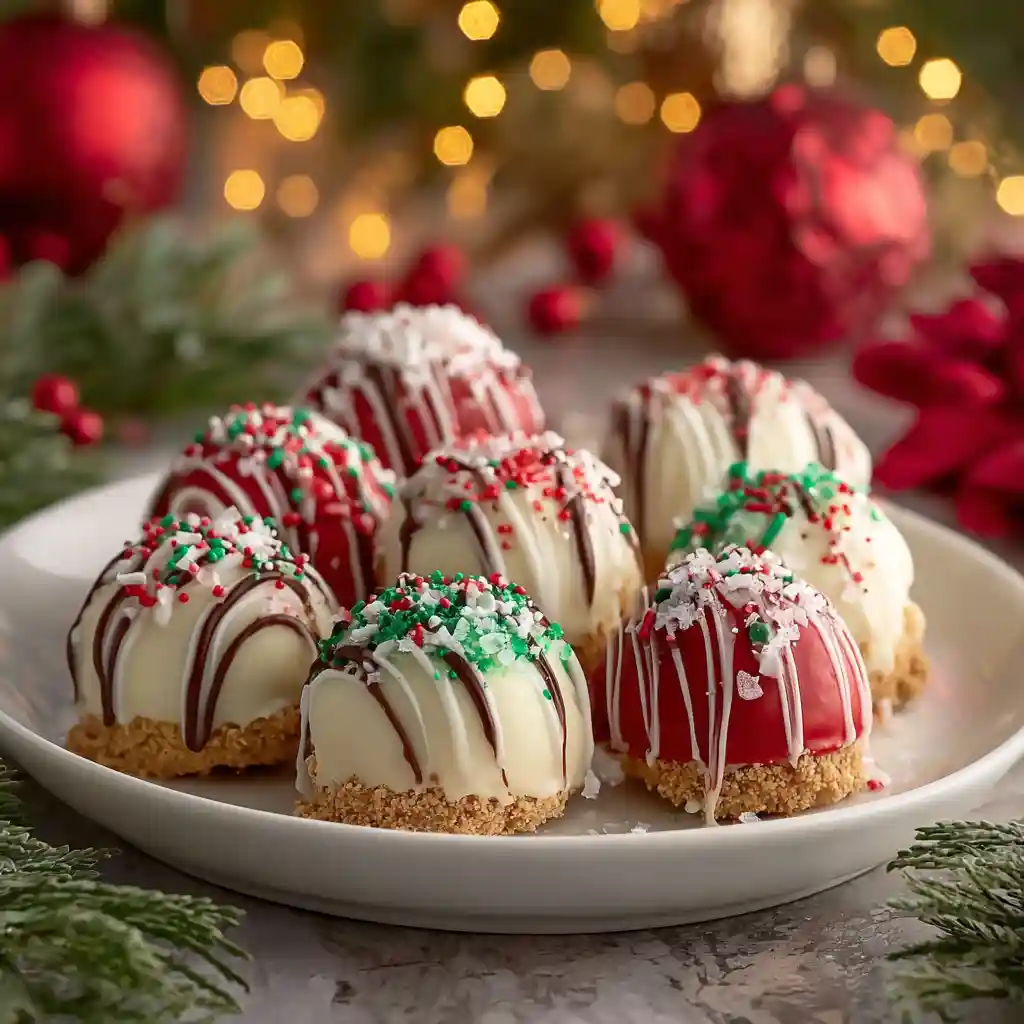
This year, I wanted something festive but also incredibly easy to whip up, especially with all the holiday parties buzzing around. That’s how I landed on these delightful No-Bake Christmas Cheesecake Bites. They’re incredibly quick to assemble, bursting with classic holiday cheer, and guaranteed to be a hit with everyone.
Table of Contents
Easy No-Bake Christmas Cheesecake Bites Recipe
Ingredients
Equipment
Method
- Prepare an 8×8-inch baking pan by greasing it with non-stick cooking spray and lining with parchment or wax paper, then set it aside.
- In a food processor, place your graham crackers and pulse until crumbs form, making sure there are no large pieces left.
- Transfer the graham cracker crumbs to a medium bowl. Add in the powdered sugar, melted butter, and salt. Mix until everything is well combined.
- Evenly spread this mixture into the prepared pan. The crust will be about ¼ inch thick. Using a spatula or the back of a measuring cup, press the crust down firmly so it is well packed. Place the pan in the freezer for about 30 minutes so the crust is set.
- While the crust is freezing, in a medium bowl or stand mixer, add the cream cheese, powdered sugar, and vanilla extract.
- Mix together until it is fully combined and smooth.
- Pour or spread the cream cheese filling evenly over the chilled crust. Return the pan to the freezer for 30-45 minutes, or until the filling is firm.
- Once frozen, carefully remove the cheesecake from the pan. Using a sharp knife, cut the cheesecake into one-inch squares. Place the squares on top of a cooling rack set over a large piece of parchment or wax paper.
- Melt the melting chocolate in the microwave, heating in 30-second intervals and stirring in between, until it is completely melted and smooth. Pour the melted chocolate into a piping bag, or a small sandwich bag with a corner snipped off. Slowly drizzle the chocolate over the cheesecake bites, first going up and down, then side to side.
- Repeat the melting and drizzling process with the white melting chocolate.
- Allow the chocolate drizzles to harden and set completely. Gently remove the cheesecake bites from the cooling rack and transfer them to the refrigerator until ready to serve.
Nutrition
Tried this recipe?
Let us know how it was!Why You’ll Love These No-Bake Christmas Cheesecake Bites
- Effortless Elegance: These bites are your secret weapon for holiday entertaining. They look and taste incredibly sophisticated, but the preparation is surprisingly simple, making them perfect for busy hosts.
- Festive Flavor Explosion: With hints of vanilla and the delightful contrast of chocolate, these bites capture the essence of Christmas in every creamy, sweet mouthful.
- Crowd-Pleasing Perfection: Who can resist a mini cheesecake? Their bite-sized nature makes them ideal for holiday parties, cookie exchanges, or just a special treat for yourself.
- The No-Bake Advantage: No oven time means no stress. This recipe frees up your oven for other holiday favorites and keeps you cool, calm, and collected during the festive rush.
What Makes These Cheesecake Bites So Good?
The magic of these cheesecake bites lies in a few simple yet crucial techniques. Using cream cheese at room temperature is essential because it allows the cheese to blend smoothly with the powdered sugar and vanilla, preventing any lumps and ensuring a silky-smooth filling. When I chill the graham cracker crust, I’m not just setting it, I’m also creating a firm base that won’t crumble when I slice the cheesecake.
This chilling process is key to achieving that perfect, decadent texture that makes these bites so irresistible. If you’re looking for other holiday drink options, you may want to try an Amazing Grinch Punch Recipe For The Holidays.
Ingredients for No-Bake Christmas Cheesecake Bites
- 1 sleeve (8-10 graham crackers)
- ¼ cup powdered sugar
- Pinch of salt
- ½ cup unsalted butter (melted)
- 16 ounces cream cheese (room temperature)
- 1 cup powdered sugar
- 1 teaspoon vanilla extract
- 2-4 ounces melting chocolate
- 2-4 ounces white melting chocolate
How to Make No-Bake Christmas Cheesecake Bites: Step-by-Step
- Prepare an 8×8-inch baking pan by greasing it with non-stick cooking spray and lining with parchment or wax paper, then set it aside.
- In a food processor, place your graham crackers and pulse until crumbs form, making sure there are no large pieces left.
- Transfer the graham cracker crumbs to a medium bowl. Add in the powdered sugar, melted butter, and salt. Mix until everything is well combined.
- Evenly spread this mixture into the prepared pan. The crust will be about ¼ inch thick. Using a spatula or the back of a measuring cup, press the crust down firmly so it is well packed. Place the pan in the freezer for about 30 minutes so the crust is set.
- While the crust is freezing, in a medium bowl or stand mixer, add the cream cheese, powdered sugar, and vanilla extract.
- Mix together until it is fully combined and smooth.
- Pour or spread the cream cheese filling evenly over the chilled crust. Return the pan to the freezer for 30-45 minutes, or until the filling is firm.
- Once frozen, carefully remove the cheesecake from the pan. Using a sharp knife, cut the cheesecake into one-inch squares. Place the squares on top of a cooling rack set over a large piece of parchment or wax paper.
- Melt the melting chocolate in the microwave, heating in 30-second intervals and stirring in between, until it is completely melted and smooth. Pour the melted chocolate into a piping bag, or a small sandwich bag with a corner snipped off. Slowly drizzle the chocolate over the cheesecake bites, first going up and down, then side to side.
- Repeat the melting and drizzling process with the white melting chocolate.
- Allow the chocolate drizzles to harden and set completely. Gently remove the cheesecake bites from the cooling rack and transfer them to the refrigerator until ready to serve.
Tips for Perfect No-Bake Christmas Cheesecake Bites
As someone who loves to bake, I’ve learned a few tricks that can make all the difference. For these cheesecake bites, my biggest tip is to truly ensure your cream cheese is at room temperature. If it’s too cold, you’ll end up with a lumpy filling, which isn’t nearly as delightful. I usually take mine out of the fridge about an hour before I plan to mix the filling.
Also, don’t rush the chilling steps; allowing the crust and the filling to freeze properly is what gives these bites their firm, sliceable texture. If your chocolate seems too thick for drizzling, you can add a tiny bit of vegetable oil (about ½ teaspoon) to help thin it out.
For more holiday sweets, check out this recipe for Wonderful Christmas Cranberry Bars Recipe.
Christmas Flavor Variations
| Flavor | Amount | Notes |
|---|---|---|
| Peppermint Extract | ¼ teaspoon | Add to the cream cheese mixture for a festive minty kick. |
| Eggnog | ¼ cup | Reduce powdered sugar by 2 tablespoons in the cream cheese mixture. |
| Gingerbread Spice | 1 teaspoon | Add to the graham cracker crust or the cream cheese mixture. |
Festive Christmas Decoration Ideas
Making these cheesecake bites even more festive is so much fun! After drizzling with chocolate, consider adding a sprinkle of edible glitter for a touch of sparkle, or perhaps some festive red and green sprinkles before the chocolate sets.
For an extra special touch, I love to place a tiny gingerbread man on top of a few bites. You can also create a “Christmas tree” effect by using green-tinted white chocolate for the drizzle, or even carefully piping a simple tree shape.
Want a different kind of holiday dessert? Maybe try these other bakes-sweets.
All About Chocolate
Melting chocolate for drizzling is straightforward, but a few pointers can ensure success. My preferred method is the microwave, as it’s quick and easy. Start by placing your melting chocolate in a microwave-safe bowl and heat on 50% power for 30-second intervals, stirring well after each interval. This prevents the chocolate from burning.
If you prefer a double boiler method, place the chocolate in a heatproof bowl set over a saucepan of gently simmering water, ensuring the bottom of the bowl doesn’t touch the water. Stir constantly until smooth. It’s crucial to avoid water coming into contact with your chocolate, as this can cause it to seize and become grainy.
For dipping and drizzling, compound chocolate or melting wafers are often easier to work with than pure chocolate, as they’re formulated to set smoothly.
A look at a typical nutrition label for plain cheesecake will give you an idea of what nutrients it contains.
Make-Ahead and Storage Instructions
These cheesecake bites are a make-ahead dream! I often prepare the crust and filling a day or two in advance, keeping them chilled in the pan until I’m ready to cut and decorate. The drizzling and decorating are best done closer to when you plan to serve them, but they can certainly be fully prepared and refrigerated for up to 3 days before your event.
Troubleshooting Common Problems
Sometimes, even with the best intentions, things don’t go exactly as planned. If your cream cheese filling is lumpy, it usually means the cream cheese wasn’t at room temperature. You can try to whisk it vigorously or even give it a quick blitz in a food processor to smooth it out.
A soggy crust can happen if the cheesecake bites sit out too long or aren’t properly chilled before cutting. For chocolate that doesn’t set, ensure you used melting chocolate or wafers; pure chocolate can sometimes have trouble setting firm without the right conditions.
Serving Suggestions for Your Christmas Party
Presentation truly elevates these little treats. I love arranging them on a tiered serving stand, alternating between dark and white chocolate drizzles.
For an extra festive touch, I scatter some fresh cranberries or rosemary sprigs around the platter. They pair wonderfully with other classic Christmas desserts like gingerbread cookies or sugar cookies. And of course, a warm mug rich hot chocolate is the perfect accompaniment.
Scaling the Recipe
Need to feed a crowd? Doubling or tripling this recipe is quite simple. Just use a larger baking pan (or multiple pans) and multiply all the ingredient quantities accordingly. For example, to double the recipe, you’d use a 9×13-inch pan and double all the ingredients. The chilling and freezing times should remain similar, but keep an eye on them to ensure they are properly set.
How to Store No-Bake Christmas Cheesecake Bites
To keep your cheesecake bites tasting their best, store them in an airtight container in the refrigerator. They will keep well for up to 4-5 days. If you need to store them for longer, you can absolutely freeze them.
Place the cooled and decorated bites in a single layer on a baking sheet until firm, then transfer them to a freezer-safe container or bag. They can be stored in the freezer for up to a month. To serve from frozen, simply transfer them to the refrigerator for a few hours to thaw.
Frequently Asked Questions
Can I use a different type of crust?
Absolutely! You can substitute chocolate graham crackers for a richer flavor, or even use crushed shortbread cookies for a different buttery profile. Just follow the same ratios for crumbs, sugar, and butter.
Can I use a different type of chocolate?
You can use any good quality melting chocolate or chocolate wafers. If using regular chocolate chips or bars, you might need to add a bit more vegetable oil (about 1 teaspoon per 4 ounces) to achieve a smooth, dippable consistency.
Can I freeze these?
Yes, they freeze beautifully! Follow the freezing instructions in the “How to Store” section for best results.
How long do they last in the refrigerator?
They are best enjoyed within 4-5 days when stored in an airtight container in the refrigerator.
Conclusion
I truly hope these No-Bake Christmas Cheesecake Bites bring a little extra sparkle and a lot of deliciousness to your holiday celebrations. They are my go-to for a reason – simple to make, incredibly tasty, and always a crowd-pleaser. Give them a try and let me know how they turn out in the comments below! I love hearing about your kitchen adventures and seeing your photos. Happy baking and happy holidays!