Introduction
There’s something truly magical about building a gingerbread house, isn’t there? It’s a tradition that always brings me so much joy, from the smell of gingerbread baking to the final, sweet decorations.
But let’s be honest, the most crucial part, the glue that holds all the sugary dreams together, is the right gingerbread house icing. I’ve tried so many recipes over the years, and I’ve finally landed on one that’s not only delicious but also incredibly quick to whip up. This recipe takes about 10 minutes, and it sets up beautifully, making it perfect for any gingerbread construction project.
Table of Contents
Gingerbread House Icing Recipe
Ingredients
Equipment
Method
- In a mixing bowl, whip the room-temperature egg whites until they become foamy. Once foamy, add the cream of tartar. Continue to mix for about 30 seconds.
- Begin adding the powdered sugar a little bit at a time. Mix well after each addition to ensure the sugar is fully incorporated into the egg white mixture.
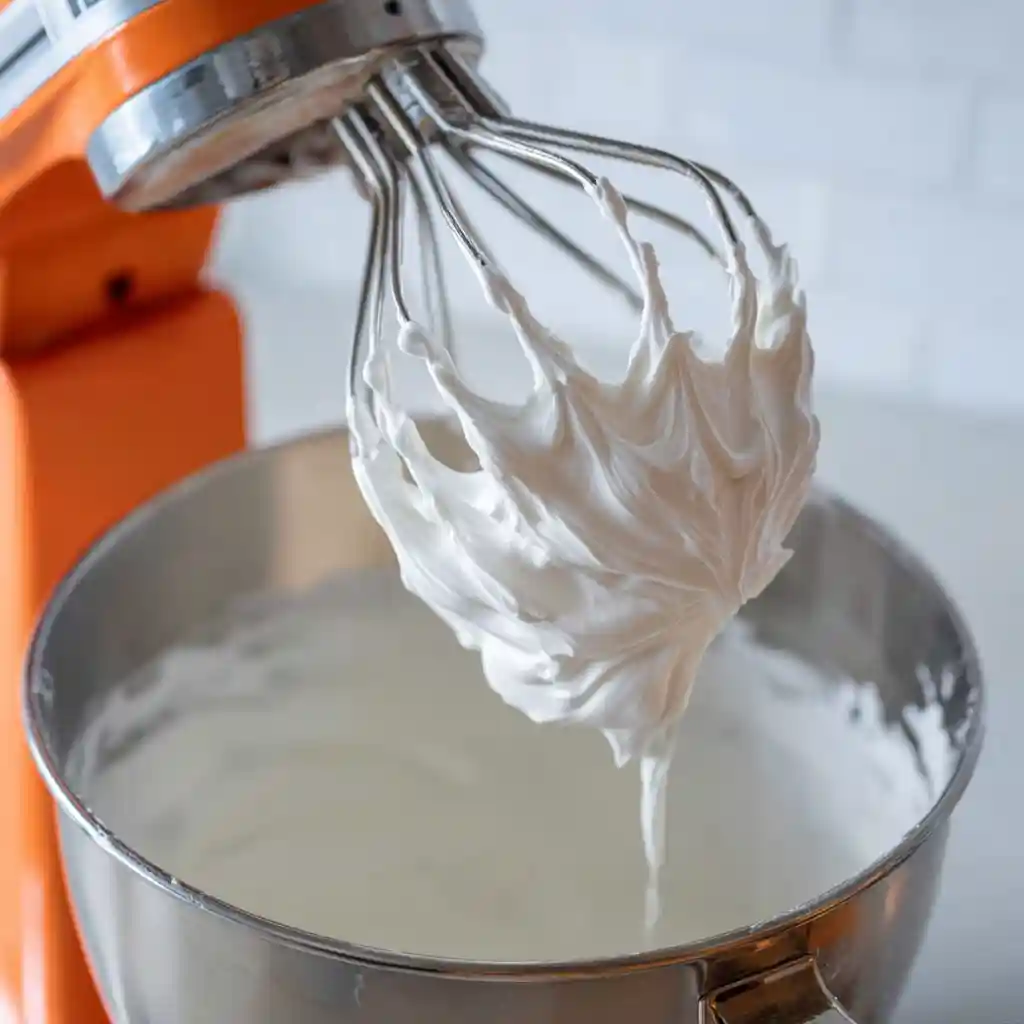
- Once all the powdered sugar is incorporated, turn your mixer up to high speed. Continue beating the mixture for about 3-5 minutes. You’re looking for a thick consistency where the icing holds its shape firmly when the beaters are lifted.
- Your gingerbread house icing is ready! To prevent it from drying out, store it well covered. If you’re not using it immediately, a damp cloth placed directly on the surface of the icing, with plastic wrap over the bowl, works wonders.
Nutrition
Tried this recipe?
Let us know how it was!What is Gingerbread House Icing and Why You’ll Love This Recipe
Gingerbread house icing, often called royal icing, is a sweet, hard-drying icing perfect for assembling and decorating gingerbread structures. It acts like edible cement, holding walls, roofs, and all sorts of sugary embellishments in place. This type of icing is specifically designed to harden, providing a stable structure for your gingerbread creations.
Why is this recipe my go-to?
- Lightning Fast: I can have it ready in about 10 minutes flat, which is fantastic when you’re in the holiday crafting zone.
- Simple Ingredients: You likely already have everything you need in your pantry. No special trips required!
- Perfect Consistency: It creates a thick, sturdy icing that holds its shape beautifully, essential for a stable gingerbread house.
- Easy Cleanup: Compared to some elaborate icings, this one is refreshingly straightforward to clean up.
Ingredients You’ll Need for the Best Gingerbread House Icing
Here’s what you’ll need to make this simple, effective gingerbread house icing:
- 2 large egg whites (room temperature)
- 3 cups powdered sugar
- ½ teaspoon cream of tartar
Ingredient Breakdown: The Science Behind Your Gingerbread House Icing
Understanding why these simple ingredients work their magic can make you a more confident baker.
Egg Whites: These are the foundation of my gingerbread house icing. When whipped, they create a foamy base that provides structure and binds everything together. Using room-temperature egg whites helps them whip up more easily and create a more stable meringue-like consistency.
Powdered Sugar: This is what gives the icing its sweetness and, crucially, its body. As it’s incorporated, it thickens the egg whites into a stiff, pipeable paste. The fine texture of powdered sugar ensures a smooth icing without grainy bits.
Cream of Tartar: This is my secret weapon for stability! Cream of tartar is an acidic salt that helps stabilize the egg whites. It prevents them from over-whipping and ensures the icing dries hard and crisp, which is exactly what you need for sturdy gingerbread construction. The addition of cream of tartar is key to achieving a stable royal icing.
Step-by-Step Instructions: How to Make Gingerbread House Icing
Let’s get this gingerbread house icing made! It’s so simple, you’ll be decorating in no time.
Step 1: Whip the Egg Whites In a mixing bowl, whip the room-temperature egg whites until they become foamy. Once foamy, add the cream of tartar. Continue to mix for about 30 seconds.
Step 2: Gradually Add Powdered Sugar Begin adding the powdered sugar a little bit at a time. Mix well after each addition to ensure the sugar is fully incorporated into the egg white mixture.
Step 3: Beat Until Thick and Stiff Once all the powdered sugar is incorporated, turn your mixer up to high speed. Continue beating the mixture for about 3-5 minutes. You’re looking for a thick consistency where the icing holds its shape firmly when the beaters are lifted.
Step 4: Store Well Covered Your gingerbread house icing is ready! To prevent it from drying out, store it well covered. If you’re not using it immediately, a damp cloth placed directly on the surface of the icing, with plastic wrap over the bowl, works wonders.
Tips and Tricks for Perfect Gingerbread House Icing
Achieving that ideal, sturdy consistency is key for successful gingerbread house building. Here are my go-to tips:
- Room Temperature Egg Whites: I can’t stress this enough. They whip up much better and create a more stable base for your icing.
- Sift Your Sugar: For an ultra-smooth icing, sift your powdered sugar before adding it. This removes any lumps that could affect the texture.
- Don’t Rush: Give the icing enough time to beat on high speed. That 3-5 minutes is crucial for developing that stiff, pipeable consistency.
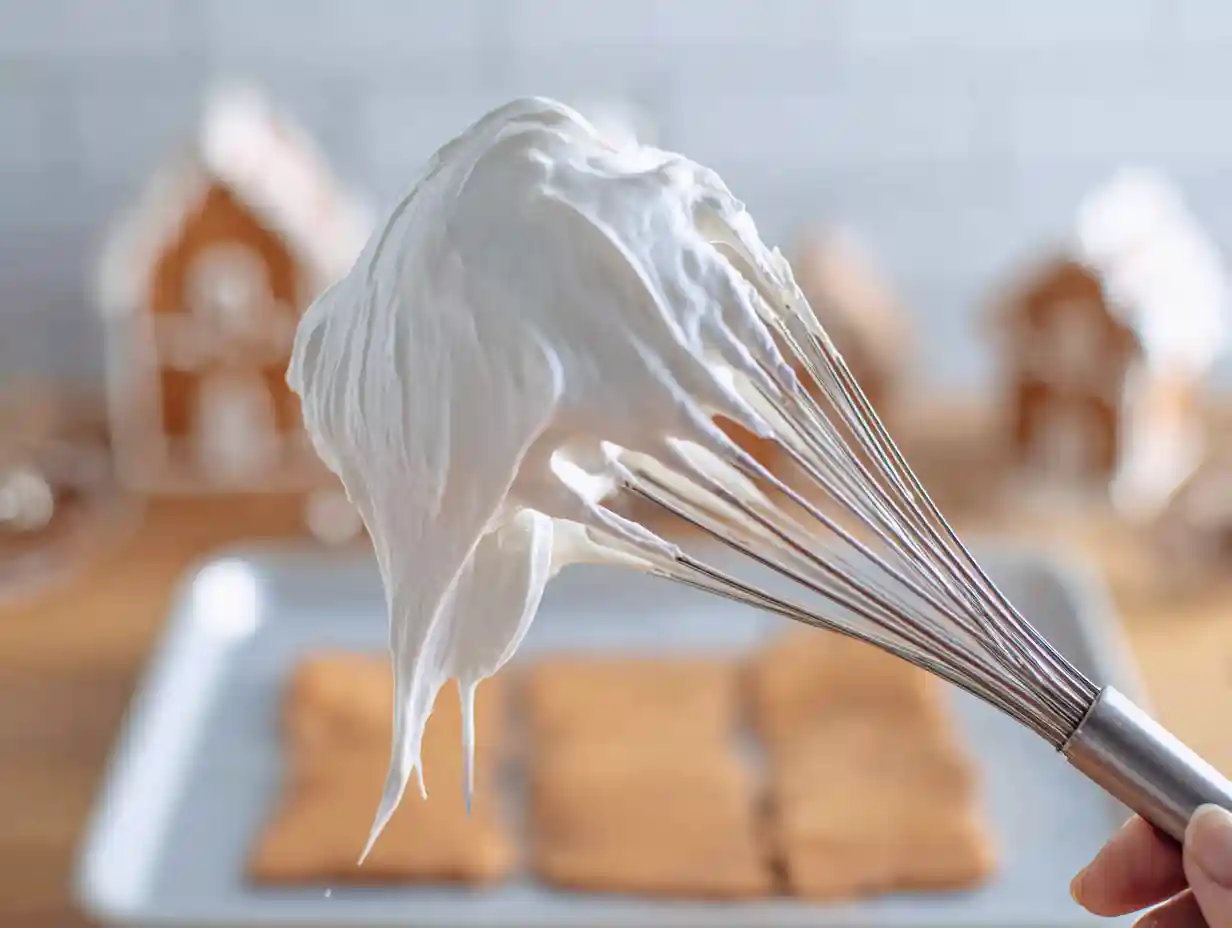
- Test the Thickness: To test if your gingerbread house icing is thick enough, lift a whisk or beater out of the bowl. The icing should form stiff peaks that stand straight up without drooping. If it’s still a bit soft, give it another minute or two of beating.
Troubleshooting Common Gingerbread House Icing Problems
Even with the best intentions, sometimes gingerbread house icing can be a little tricky. Don’t worry, I’ve encountered these issues too!
- Icing is too thin: This is the most common issue. If your icing seems too runny to hold its shape, gradually add more powdered sugar, one tablespoon at a time, beating well after each addition until you reach the desired thickness.
- Icing is too thick: If your icing feels too stiff and difficult to pipe, you can thin it down slightly. Add a tiny amount of water, just a teaspoon at a time, beating well until it reaches a more manageable consistency. Be very careful not to add too much water, or you’ll end up with icing that’s too thin.
- Icing doesn’t dry properly: This can happen if there’s too much moisture or not enough sugar. Ensure you’ve used the correct measurements and that the icing has been beaten sufficiently. Also, avoid making gingerbread houses in very humid environments, as this can affect drying times. Make sure your gingerbread pieces are completely cool before icing.
Gingerbread House Icing Variations
While my go-to recipe uses fresh egg whites, I know some people prefer alternatives for safety or convenience.
| Variation | Instructions |
|---|---|
| Meringue Powder Icing | Substitute egg whites with an equivalent amount of meringue powder and water, following package instructions. This is a great option for food safety and consistency. |
Coloring Your Gingerbread House Icing
Adding color can transform your gingerbread house from simple to spectacular!
For the best results, I highly recommend using gel food coloring. Unlike liquid food coloring, gels are highly concentrated and won’t add extra moisture to your icing, which could affect its consistency.
Start by adding just a tiny drop of gel color to a small portion of your icing, mix thoroughly, and then add more color gradually until you achieve your desired shade. This prevents you from accidentally making your icing too dark or too watery.
Gingerbread House Icing: Piping Techniques for Beginners
Piping icing is essential for both construction and decoration. Here are some beginner-friendly tips:
- Use the Right Tip: A medium-sized round tip (like a Wilton #12 or #8) is excellent for basic construction and outlining. For finer details or writing, a smaller tip (like a Wilton #4 or #5) works well.
- Practice First: Before you start on your actual gingerbread house, practice piping lines and shapes on parchment paper. This helps you get a feel for the pressure needed and the flow of the icing.
- Hold it Right: Grip the piping bag firmly but gently, about halfway up the bag, allowing you to control the pressure. Hold the tip perpendicular to the surface you’re piping on for straight lines.
- Connect the Pieces: When assembling your house, pipe thick, sturdy lines of icing along the edges of your gingerbread pieces where they will join. Hold the pieces together for a minute or two until the icing begins to set, providing initial stability.
How Much Icing Do You Need for a Gingerbread House?
The amount of icing needed really depends on the size and complexity of your gingerbread house. For a standard, medium-sized gingerbread house kit, I usually find that doubling this recipe (so, 4 egg whites, 6 cups powdered sugar, 1 teaspoon cream of tartar) is usually sufficient for both assembly and decoration.
If you’re building a larger, more elaborate structure, or if you plan on lots of intricate details, consider making a triple batch. It’s always better to have a little extra icing on hand!
Storing Your Gingerbread House Icing
Proper storage is crucial to keep your gingerbread house icing fresh and ready to use.
Before Use: Once you’ve made the icing and it’s the perfect consistency, cover it tightly. The best method is to press a piece of plastic wrap directly onto the surface of the icing to prevent an air bubble from forming and creating a crust. Then, cover the bowl with another layer of plastic wrap or an airtight lid. Stored this way, it can typically be kept at room temperature for a day or two. If you need to store it longer, you can refrigerate it, but it may need a good re-whipping to regain its consistency.
After Use: If you have leftover icing, transfer it to an airtight container. Again, press plastic wrap directly onto the surface before sealing the container. It will generally last for a week or more when stored properly in the refrigerator. Before using refrigerated icing, let it come to room temperature and then re-whip it vigorously to ensure it’s smooth and has the right consistency.
Frequently Asked Questions
Q: Can I use granulated sugar instead of powdereda sugar?
A: No, you cannot substitute granulated sugar for powdered sugar in this recipe. Powdered sugar has a very fine texture that dissolves easily and provides the necessary smoothness and structure for royal icing. Granulated sugar would result in a grainy and unstable icing.
Q: My icing is too runny. What did I do wrong?
A: This usually means not enough powdered sugar was added, or perhaps the egg whites weren’t whipped long enough. Try adding more powdered sugar, one tablespoon at a time, beating well after each addition, until it reaches a stiff consistency.
Q: How long does gingerbread house icing take to dry?
A: The drying time can vary depending on humidity and the thickness of the icing. Generally, it takes anywhere from a few hours to overnight for the icing to dry completely hard, especially for structural elements. Thinner decorative lines will dry faster.
Q: Can I make this icing ahead of time?
A: Yes, you can make this icing ahead of time. Follow the storage instructions above. It’s best to re-whip it thoroughly before using it to ensure a smooth, consistent texture.
Conclusion
And there you have it – a simple, reliable gingerbread house icing that will hold your sweet creations together beautifully! It’s truly amazing what a few pantry staples and about 10 minutes can achieve. Building and decorating gingerbread houses is such a fun way to spend time, whether it’s a solo craft or a family activity.
Have you tried this recipe? I’d love to hear how your gingerbread house turned out in the comments below! Do you have any favorite piping tips or decorating ideas? Share them with me, and let’s spread the holiday cheer!