Introduction
There’s something truly magical about whipping up a batch of nostalgic treats, especially when the holidays are around the corner.
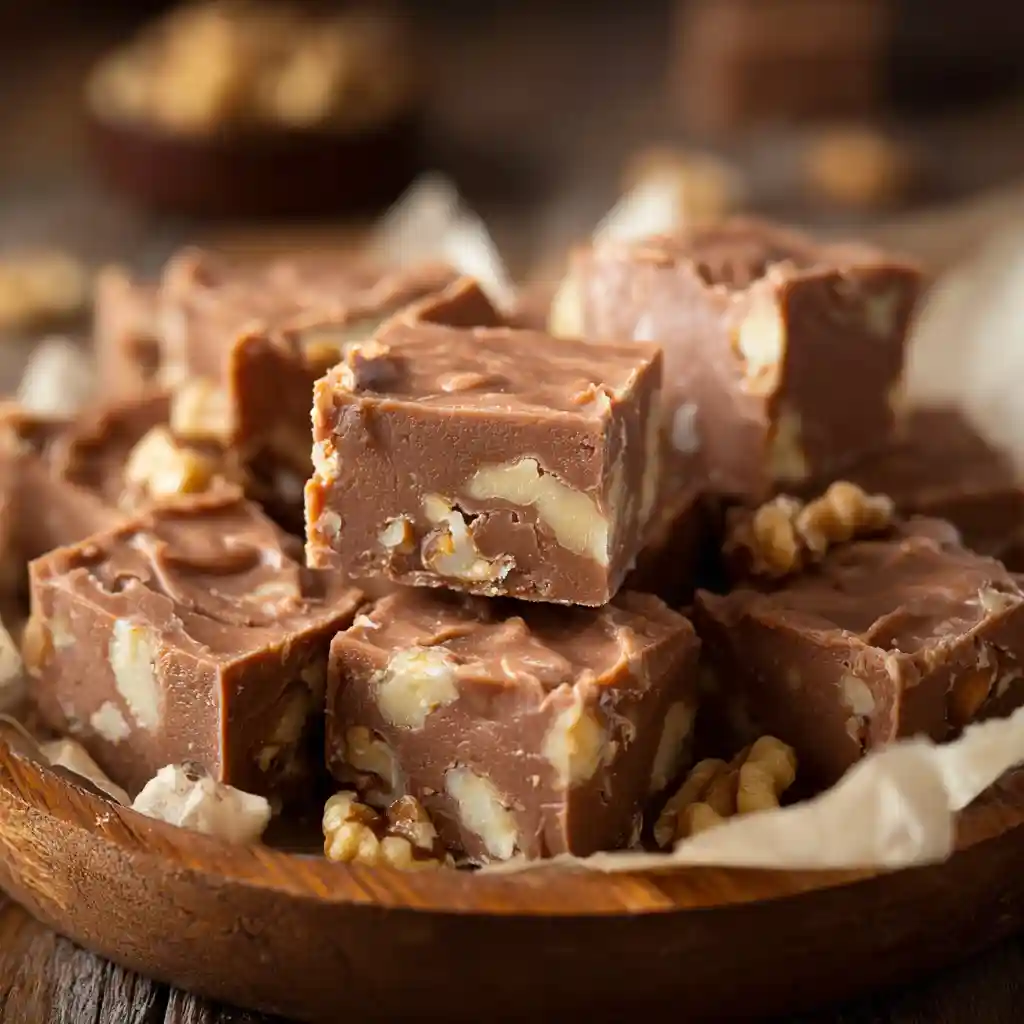
For me, it’s all about recreating those comforting flavors from my childhood. That’s exactly why I’m so excited to share this incredible Fantasy Fudge Recipe. It’s a legendary treat that takes about 15-20 minutes of active prep time, plus a little patience for it to set.
This isn’t just any fudge; it’s the original, foolproof version that I know you’ll love making.
Table of Contents
Original Fantasy Fudge Recipe
Ingredients
Equipment
Method
- Line a 9×13-inch pan with parchment paper.
- In a large saucepan over medium heat, mix the sugar, vegetable shortening, and evaporated milk.
- Bring the mixture to a boil. Leave on heat until the mixture registers 234°F on a candy thermometer (about 5 minutes).
- Remove from heat and stir in chocolate chips until melted and thoroughly combined.
- Add the mini-marshmallows, walnuts, and vanilla extract. Stir to incorporate.
- Transfer the fudge to the prepared pan. Allow the fudge to set at room temperature (about 4 hours). To speed up the setting process, you can let it chill in the refrigerator to set.
- Serve at room temperature.
Nutrition
Tried this recipe?
Let us know how it was!The Original Fantasy Fudge Recipe: A Sweet History
I love diving into the history behind our favorite recipes, and this one has such a sweet story. The original Fantasy Fudge Recipe has roots with Kraft and their iconic Jet-Puffed Marshmallow Creme.
You might remember seeing this recipe right on the jar, a testament to its widespread appeal. It became a go-to for home bakers because it was simple, reliable, and incredibly delicious. This recipe captured hearts nationwide, and it’s easy to see why it’s considered a classic.
Why You’ll Love This Fantasy Fudge Recipe
I’ve made a lot of fudge in my day, and this particular Fantasy Fudge Recipe always stands out. Here’s why I think you’ll adore it:
- Incredibly Smooth Texture: It has that perfectly creamy, melt-in-your-mouth consistency that defines great fudge.
- Simple, Accessible Ingredients: You probably have most of what you need in your pantry already.
- Classic Nostalgic Flavor: It tastes exactly like the fudge you remember, evoking happy memories with every bite.
- Perfect for Gifting: This fudge is always a hit when I bring it to parties or give it as a homemade gift.
- Foolproof Method: Follow these steps, and you’re practically guaranteed a fantastic result.
Ingredients for Perfect Fantasy Fudge
Here’s exactly what you’ll need to make this delightful fudge:
- 3 cups (600 g) granulated sugar
- ¾ cups (170 g) vegetable shortening
- ⅔ cups (168 g) evaporated milk
- 1 package (12 ounces) semisweet chocolate chips
- 1 bag (10 ounces) mini-marshmallows
- 1 cup (117 g) walnuts, chopped
- 1 teaspoon vanilla extract
Ingredient Quality Matters!
While this Fantasy Fudge Recipe is forgiving, using good quality ingredients can really elevate your fudge. For the chocolate chips, I find that using a brand you already love for baking yields the best flavor. Similarly, the evaporated milk contributes to the creamy base, so a standard brand works wonderfully.
For the marshmallows, the mini ones melt more easily and evenly, ensuring a smooth texture throughout your fudge.
Step-by-Step Instructions: How to Make Fantasy Fudge
Let’s get to the fun part! Making this fudge is straightforward with these steps:
- Line a 9×13-inch pan with parchment paper.
- In a large saucepan over medium heat, mix the sugar, vegetable shortening, and evaporated milk.
- Bring the mixture to a boil. Leave on heat until the mixture registers 234°F on a candy thermometer (about 5 minutes).
- Remove from heat and stir in chocolate chips until melted and thoroughly combined.
- Add the mini-marshmallows, walnuts, and vanilla extract. Stir to incorporate.
- Transfer the fudge to the prepared pan. Allow the fudge to set at room temperature (about 4 hours). To speed up the setting process, you can let it chill in the refrigerator to set.
- Serve at room temperature.
The Science Behind Your Fudge: Why Precision Matters
There’s a little bit of science that makes this Fantasy Fudge Recipe turn out so wonderfully. When you boil the sugar, shortening, and milk mixture to 234°F, you’re essentially creating a “soft-ball stage” syrup. This precise temperature is crucial because it determines the final texture of your fudge. Heating the sugar syrup to this point causes water to evaporate, concentrating the sugar.
When it cools, the sugar molecules crystallize in a very specific way, creating that smooth, creamy texture we all love. If it’s not heated quite enough, the fudge can be too soft and greasy. If it’s heated too much, it can become hard and grainy.
High Altitude Adjustments for Fantasy Fudge
If you live at a higher altitude, you might need to make a few small adjustments to this Fantasy Fudge Recipe. At higher elevations, water boils at a lower temperature. This means the sugar syrup may reach 234°F more quickly, and the final fudge might be softer than expected.
To compensate, I usually try to cook the sugar mixture for an extra minute or two, or aim for a slightly higher temperature, around 236-238°F. It’s always best to test a small amount in cold water to check the consistency, as this can vary greatly by exact altitude and humidity.
Common Fantasy Fudge Problems & How to Fix Them
Even with a great recipe, sometimes things don’t go perfectly. Here are a few common issues and how to fix them:
- Grainy Texture: This usually happens if the sugar crystals didn’t dissolve properly or if the fudge was stirred too much after cooking. To prevent it next time, ensure the sugar is fully dissolved before boiling, and avoid stirring the mixture vigorously once it’s off the heat. If your fudge is already grainy, there isn’t much to do, but you can try gently reheating a small portion and adding a tiny bit more liquid to see if it helps smooth it out.
- Fudge Not Setting: If your fudge is too soft or doesn’t firm up, it likely wasn’t cooked to a high enough temperature. To try and fix this, you can gently re-melt the fudge and cook it a bit longer, aiming for that 234°F mark. Alternatively, you can simply enjoy it as a delicious chocolatey sauce or spread!
- Greasy Fudge: This can occur if too much fat separates from the mixture. Ensure you’re using vegetable shortening and not butter, as butter contains water and milk solids that can cause separation. Stirring gently after removing from heat also helps prevent this. If it’s already greasy, you can try draining off a little of the excess fat, but this can be tricky.
Fantasy Fudge Variations & Flavor Ideas
While I adore the classic Fantasy Fudge Recipe with walnuts, it’s also wonderfully versatile. Here are a few ideas to get creative:
| Variation | Key Ingredient Changes | Description |
|---|---|---|
| Peppermint Swirl | Add 1 tsp peppermint extract; swirl in candy canes | A festive flavor perfect for the holidays. |
| Peanut Butter Cup | Swirl in ½ cup peanut butter; use peanut butter chips | A delightful combination of chocolate and peanut butter. |
| Cookies and Cream | Fold in 1 cup crushed chocolate sandwich cookies | Transforms it into a cookies and cream lover’s dream. |
| S’mores Fudge | Fold in mini marshmallows and graham cracker pieces | Captures all the campfire flavors in a rich fudge. |
| Holiday Spice | Add ½ tsp cinnamon, ¼ tsp nutmeg, pinch of cloves | Warm, comforting spices perfect for festive occasions. |
| White Chocolate Cranberry | Use white chocolate chips, add ½ cup dried cranberries | A sweet and tart combination with a festive color. |
Can You Make Fantasy Fudge In the Microwave?
Yes, you can definitely make a delicious batch of Fantasy Fudge in the microwave! It’s a great shortcut if you’re short on time or don’t want to use the stovetop.
Here’s how I do it: In a microwave-safe bowl, combine the sugar, shortening, and evaporated milk. Microwave on high for about 5-7 minutes, stirring every minute, until it reaches 234°F on your candy thermometer.
Be very careful as the mixture will be extremely hot. Once it reaches the correct temperature, carefully stir in the chocolate chips until melted, followed by the mini-marshmallows, walnuts, and vanilla extract. Pour into your prepared pan and let it set as usual. The key is to watch it closely in the microwave, as different ovens heat at different rates.
Tips for Perfectly Cutting & Serving Fantasy Fudge
Getting those clean, beautiful cuts of fudge makes all the difference, especially if you’re gifting it. My best tip is to let the fudge set completely. Once it’s firm, lift it out of the pan using the parchment paper. Use a large, sharp knife; I find a chef’s knife works best. To prevent sticking, you can lightly warm the knife blade under hot water and wipe it dry before each cut.
For a really clean cut, press straight down rather than sawing. Presentation-wise, I love arranging the cut squares on a festive platter or wrapping them individually in parchment paper tied with ribbon.
How to Store Fantasy Fudge
Storing your Fantasy Fudge Recipe properly is key to keeping it fresh and delicious. I usually store mine at room temperature. Once the fudge has completely set, I cut it into squares and keep them in an airtight container.
You can place parchment paper between layers to prevent sticking. It stays delicious this way for about 1 to 2 weeks. If your kitchen tends to be warm, or if you’ve added ingredients like fresh fruit that might spoil, storing it in the refrigerator in an airtight container is a good option.
Can You Freeze Fantasy Fudge?
Absolutely! Freezing Fantasy Fudge is a fantastic way to keep it fresh for longer. To freeze, make sure the fudge is completely set and cooled. Cut it into individual squares. Wrap each square tightly in plastic wrap, then place them in a freezer-safe airtight container or a heavy-duty freezer bag.
This double layer of protection prevents freezer burn. When you’re ready to enjoy it, simply thaw the fudge overnight in the refrigerator, then bring it to room temperature before serving. It should stay delicious for up to 2-3 months when frozen properly.
FAQs about Fantasy Fudge
I get asked a lot of questions about this recipe, and I’m happy to share what I know!
Can I make Fantasy Fudge without a candy thermometer?
You certainly can, but it requires a bit more skill and attention. The “soft-ball stage” test is your best bet. Drop a small amount of the hot syrup into a glass of cold water. If you can roll it into a soft, pliable ball between your fingers, it’s ready. If it stays liquid, it needs more cooking time. If it becomes too hard, you’ve gone too far. It’s definitely easier and more precise with a thermometer!
Do you have to use walnuts in Fantasy Fudge? / Nuts or no nuts?
No, you absolutely don’t have to use walnuts! They add a nice crunch and classic flavor, but if you have allergies or prefer them out, just omit them. You could also substitute other chopped nuts like pecans or almonds. For a nut-free version, simply leave them out entirely.
What’s the difference between the original Fantasy Fudge Recipe and current versions?
The core recipe we’re using here is very close to the original Kraft recipe. Over time, many people have made their own tweaks, like adding different extracts, sugars, or even using different types of chocolate. However, this recipe sticks to the foundational ingredients that make it so reliably delicious and creamy.
How do I harden Fantasy Fudge if it’s too soft?
If your fudge is too soft after setting, it likely means it wasn’t cooked quite long enough or to a high enough temperature. You can try gently re-melting it in a saucepan over low heat and continuing to cook it, testing with a thermometer or the cold-water test until it reaches the soft-ball stage (234°F). Then, let it set again.
Can you use a different-sized pan for Fantasy Fudge?
Yes, you can, but it will affect the thickness and setting time. If you use a smaller pan, your fudge will be thicker and may take longer to set. If you use a larger pan, it will be thinner and will set more quickly. The 9×13-inch pan is ideal for achieving the classic thickness of this Fantasy Fudge Recipe.
Conclusion
Making this classic Fantasy Fudge Recipe is such a joy, and I truly hope you’ll find it as easy and rewarding as I do. It’s a wonderful way to bring a touch of homemade sweetness and nostalgia to your kitchen.
I’d love to hear about your experience making it! Please leave a comment below with your favorite fudge memories, any questions you might have, or share any delicious variations you create. The Delish Script community thrives on your stories!
For more recipes, follow us on Pinterest.