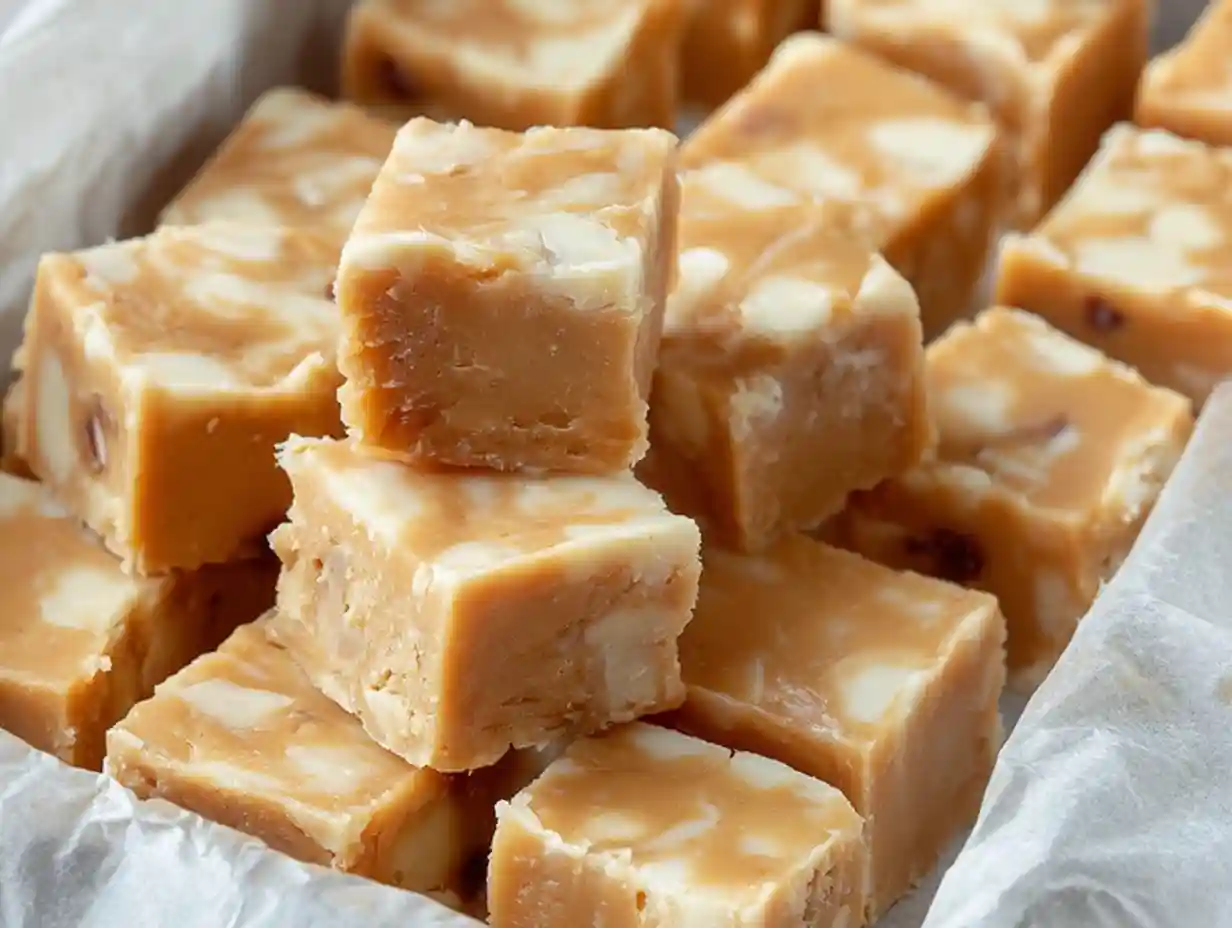
The Easiest & Creamiest Peanut Butter Fudge Recipe You’ll Ever Make
Hello there! Maya here from Delish Script. I’m so excited to share a recipe with you that has become a complete staple in my kitchen: my super simple and incredibly delicious Peanut Butter Fudge recipe. This isn’t just any fudge; it’s the kind of treat that melts in your mouth and tastes like pure comfort. Perfect for unexpected guests or just when a sweet craving hits, it requires minimal effort and just a little bit of chill time. Get ready to impress yourself and everyone around you with this no-fail delight!
Table of Contents
Easy Peanut Butter Fudge Recipe
Ingredients
Equipment
Method
- Combine the peanut butter, vegetable shortening, and vanilla in a glass bowl.
- Melt in the microwave for 90 seconds, stirring halfway through.
- Stir to combine until smooth and creamy.
- Slowly add the powdered sugar, about a cup at a time, stirring thoroughly after each addition until well combined.
- Grease an 8×8 or 9×9 inch pan with vegetable shortening or line with parchment paper.
- Transfer the fudge mixture to the prepared pan and press it down evenly.
- Chill for at least 4 hours before cutting into pieces.
- Store in an airtight container in the refrigerator.
- Combine the peanut butter, vegetable shortening, and vanilla in a medium-sized saucepan over medium-low heat.
- Stir until smooth and creamy.
- Remove the pan from the heat.
- Slowly add the powdered sugar, about a cup at a time, stirring thoroughly after each addition until well combined.
- Grease an 8×8 or 9×9 inch pan with vegetable shortening or line with parchment paper.
- Transfer the fudge mixture to the prepared pan and press it down evenly.
- Chill for at least 4 hours before cutting into pieces.
- Store in an airtight container in the refrigerator.
Nutrition
Notes
- Chocolate Swirl: Melt some semi-sweet chocolate chips and drizzle them over the fudge mixture before chilling. Swirl gently with a toothpick.
- Peanut Butter Cup Bliss: Fold in some chopped peanut butter cups or mini peanut butter cups into the mixture before pressing into the pan.
- Nutty Delight: Add about ½ cup of chopped roasted peanuts or pecans for extra crunch.
- Marshmallow Swirl: Gently fold in mini marshmallows just before transferring to the pan for pockets of gooey sweetness.
- Sea Salt Finish: Sprinkle flaky sea salt over the top before chilling for a delightful sweet and salty contrast.
Tried this recipe?
Let us know how it was!Why This Peanut Butter Fudge Recipe Will Be Your New Favorite
I’ve tried quite a few fudge recipes over the years, and this Peanut Butter Fudge recipe truly stands out for so many reasons. I think you’ll love it because:
- It’s incredibly creamy and smooth, almost like a dream.
- It’s astonishingly easy to make, perfect even for beginner bakers.
- It uses simple, common pantry ingredients you likely already have.
- It’s a foolproof recipe that always turns out wonderfully, making it ideal for gifting.
The Simple Ingredients Behind Perfect Peanut Butter Fudge
The magic of this Peanut Butter Fudge recipe lies in its simplicity, and understanding why each ingredient works is key. I use vegetable shortening because it provides an exceptionally smooth and creamy base without adding any competing flavors. This is crucial for that melt-in-your-mouth texture.
For the peanut butter, I always reach for creamy, processed peanut butter, the kind that doesn’t require stirring. Natural peanut butter, with its separated oils, can affect the texture and make the fudge oily or crumbly, so I stick to the processed stuff for guaranteed results. Vanilla extract adds that classic sweet aroma and depth of flavor that complements the peanut butter perfectly.
Finally, powdered sugar is essential for creating that signature smooth, melt-away texture that fudge is known for.
For many candy-making recipes, simple ingredients like sugar, butter, and milk are foundational, and this fudge recipe leverages these principles for a delightful result.
Essential Tools for Your Peanut Butter Fudge Recipe
You’ll be happy to know that making this Peanut Butter Fudge recipe doesn’t require any fancy gadgets. I usually make mine in the microwave, which is incredibly fast.
All you really need is a microwave-safe glass bowl and a spatula for stirring.
If you prefer using your stovetop, a medium-sized saucepan will do the trick instead of the glass bowl. Whichever method you choose, you’ll also need a spatula to mix everything together.
And of course, you’ll need an 8×8 or 9×9 inch pan, which I like to prepare by greasing it with vegetable shortening or lining it with parchment paper to make removing the fudge a breeze.
Your Go-To Peanut Butter Fudge Recipe
Ingredients
- 1 cup vegetable shortening
- 1 cup creamy peanut butter
- 1 teaspoon vanilla
- 3½ cups powdered sugar
Instructions
Microwave Method:
- Combine the peanut butter, vegetable shortening, and vanilla in a glass bowl.
- Melt in the microwave for 90 seconds, stirring halfway through.
- Stir to combine until smooth and creamy.
- Slowly add the powdered sugar, about a cup at a time, stirring thoroughly after each addition until well combined.
- Grease an 8×8 or 9×9 inch pan with vegetable shortening or line with parchment paper.
- Transfer the fudge mixture to the prepared pan and press it down evenly.
- Chill for at least 4 hours before cutting into pieces.
- Store in an airtight container in the refrigerator.
Stovetop Method:
- Combine the peanut butter, vegetable shortening, and vanilla in a medium-sized saucepan over medium-low heat.
- Stir until smooth and creamy.
- Remove the pan from the heat.
- Slowly add the powdered sugar, about a cup at a time, stirring thoroughly after each addition until well combined.
- Grease an 8×8 or 9×9 inch pan with vegetable shortening or line with parchment paper.
- Transfer the fudge mixture to the prepared pan and press it down evenly.
- Chill for at least 4 hours before cutting into pieces.
- Store in an airtight container in the refrigerator.
Pro Tips for Foolproof Peanut Butter Fudge
Making this Peanut Butter Fudge recipe is usually pretty straightforward, but here are a few of my best tips to ensure it turns out perfectly every time.
When the fudge is ready to come off the heat or out of the microwave, it should look wonderfully smooth and creamy. If it seems a little too stiff while mixing, a few extra seconds of stirring can help.
On the flip side, if it feels too soft, don’t worry too much; chilling will firm it up. The most important step is thorough chilling – at least 4 hours is key to achieving that perfect fudge texture. Cutting it too early can result in a softer, stickier mess, while enough chill time yields clean slices.
Customizing Your Peanut Butter Fudge: Easy Substitutions & Delicious Variations
While this Peanut Butter Fudge recipe is fantastic as is, I love experimenting with it! Here are some ideas to make it your own.
| Substitution/Adaptation | Notes |
|---|---|
| Butter | You can substitute unsalted butter for shortening, but the texture may be slightly less smooth. |
| Pan Size | Using a larger pan (like a 9×13 inch) will result in thinner fudge that requires less chilling. |
| Natural PB | If you must use natural peanut butter, ensure it’s very well stirred and add a bit more shortening. |
Now for the fun part – variations!
- Chocolate Swirl: Melt some semi-sweet chocolate chips and drizzle them over the fudge mixture before chilling. Swirl gently with a toothpick.
- Peanut Butter Cup Bliss: Fold in some chopped peanut butter cups or mini peanut butter cups into the mixture before pressing into the pan.
- Nutty Delight: Add about ½ cup of chopped roasted peanuts or pecans for extra crunch.
- Marshmallow Swirl: Gently fold in mini marshmallows just before transferring to the pan for pockets of gooey sweetness.
- Sea Salt Finish: Sprinkle flaky sea salt over the top before chilling for a delightful sweet and salty contrast.
Storing Your Homemade Peanut Butter Fudge
Storing this delicious Peanut Butter Fudge recipe is simple. Once it’s chilled and cut, I like to keep mine in an airtight container in the refrigerator. This keeps it perfectly firm and fresh for up to two weeks.
If you find yourself with more fudge than you can possibly eat (a rare problem, I know!), it freezes beautifully. Wrap individual pieces or blocks tightly in plastic wrap, then place them in a freezer-safe bag or container. It can stay frozen for up to 3 months.
To thaw, simply bring it back to the refrigerator for a few hours, or let it sit at room temperature for about an hour before enjoying.
Serving Suggestions for Your Decadent Peanut Butter Fudge
This Peanut Butter Fudge recipe is perfect on its own, but I love getting creative with how I serve it! It’s absolutely divine crumbled over a scoop of vanilla ice cream or swirled into a thick milkshake.
For parties or dessert platters, cutting it into small, bite-sized squares makes it easy for everyone to enjoy. It also makes a wonderfully thoughtful gift. Package it up in cute tins or cellophane bags tied with ribbon, and you’ve got a truly special treat that anyone would appreciate.
For more gifting ideas, consider exploring a Foolproof Sourdough Focaccia Recipe or a delightful The Ultimate Fresh Apple Cake with Cream Cheese Frosting.
FAQs About Peanut Butter Fudge
I get asked a lot of questions about making fudge, so here are some answers to common queries about this Peanut Butter Fudge recipe:
Can I use natural peanut butter?
While I strongly recommend creamy, no-stir peanut butter for the best texture, you can use natural peanut butter. Just be sure to stir it thoroughly to recombine any separated oil before measuring and using it. You might need to adjust the amount of shortening slightly if it seems oily.
How can I fix grainy fudge?
Graininess usually happens if the sugar recrystallizes. If it’s already made, there’s not much to do, but for future batches, ensure all ingredients are thoroughly mixed and avoid over-stirring once the sugar is added.
Why is my fudge too soft/hard?
Too soft usually means it didn’t chill long enough or the ratio of ingredients was slightly off. Too hard can happen if it was cooked too long (though this recipe doesn’t involve much cooking) or if too much powdered sugar was added. Ensure you’re measuring accurately and chilling sufficiently.
Can this recipe be doubled or tripled? How does that affect cooking/chill time?
You can usually double this recipe without much issue, especially the microwave method, though it might take slightly longer to melt. Tripling might require a larger bowl and longer melting time. Chill time generally remains the same, though thicker fudge will take longer to set.
What equipment is absolutely necessary?
You absolutely need a mixing bowl (glass for microwave, saucepan for stovetop), a spatula, and a pan (8×8 or 9×9 inch).
How to adjust the recipe for different pan sizes?
Using a larger pan (like a 9×13 inch) will make the fudge thinner, requiring less chill time. A smaller pan will result in thicker fudge that needs more time to set.
Can I make this Peanut Butter Fudge recipe without a microwave/saucepan?
This recipe relies on gently melting the shortening and peanut butter. If you don’t have a microwave or stovetop, you could try a double boiler method on a hot plate or an oven-safe bowl set over a pot of simmering water, but it would be less straightforward.
Conclusion
There you have it – my foolproof, incredibly easy, and unbelievably creamy Peanut Butter Fudge recipe! I truly believe this is the best way to get that classic fudge flavor and texture without any fuss. It’s a little bit of sweet magic that brings so much joy. I hope you give this recipe a try and love it as much as I do.
I’d be absolutely delighted if you’d share your experience in the comments below! What variations did you try? Do you have any questions? Or perhaps you just want to share how much you loved it? Don’t forget to tag us with your photos if you share them on social media. Happy baking, everyone!
For more recipes, follow us on Pinterest.